How to Draw the Peacock for Kids. Today we will get acquainted with the sketch of how to draw peacocks. Learn how to draw peacocks with these silly, easy drawing exercises for young people. In our reality, peacocks are the most adorable birds. Peacocks are comparable in size to turkeys. Peacocks are also popular for abrasive bait. The peacock has a light-colored variety and long, backward-flowing tails. Suppose you need to draw your exquisite peacock? It’s easy with these simple step-by-step drawing exercises. This didactic exercise relates to drawing for young people. With that in mind, having a piece of paper and a pencil might be ideal. Then vary and complete the drawing process you have done. Peacocks exhibit unique tones ranging from green, blue, brown, and yellow to white and the muted variety. Let’s assume you like the peacock drawing exercise.
The time needed: 60 minutes.
Draw the Peacock for Kids
Step 1
You first define two folded boundaries to create a strained balance sheet. These lines make up the status of the Peacock Temple. Then at this point, we draw an S-shaped line to make the neck of the peacock that he draws for the younger ones.
Step 2
Second, we define the folded edges to make the eye. So at this point, we define the boundaries around the eye. Then, at this point, draw the tip of the blooming feathers on the peacock. From this point, we draw many sticks to the head. So we need to draw branch lines for each line.
Step 3
Third, draw a series of wavy lines to create the peacock feathers. Next, we draw another straight line in each pen.
Step 4
Four of us will rush to do the peacock’s train and ocelli. Therefore, in the juvenile peacock drawing, we define several straight borders. Next, we will make an oval shape to make the peacock ocelli.
Step 5
In the fifth step, we add the dark tone in pencil with the marker to create a lighter look. Next, we draw lines on a pencil line with a marker. Dive into an easy drawing for teens.
Step 6
In six, we add different variations of our way of drawing designs. With this in mind, we’ll put a blue tone on the body and a yellow tone on the muzzle. Hence orange tone in the eyes and a dull green tone around the eyes.
Step 7
In seven, we’ll add the shade of green to the top feathers of the peacock. We have made this advancement to add tones to the shading pages.
Step 8
In eight, add the yellow tone in the middle feathers of the peacock. Then draw orange lines inside the feathers.
Step 9
In nine, we are currently adding the colors in the eyespots of the peacock design. With this in mind, we use the shades of orange, blue, and opaque blue in the ocelli.
Step 10
In the last step, we put the yellow tone in the train of the eyespots of the feathers. Currently, the sketch for drawing the peacock is finished and looks excellent. Is it true that you are examining how to draw peacocks? We will show you step by step, easy way with cool drawing thoughts on how to do peacock teaching exercises. Each task is easy for children to understand. So make it as easy as you like, don’t make it tedious. I trust your lines to draw peacock drawing educational exercise.
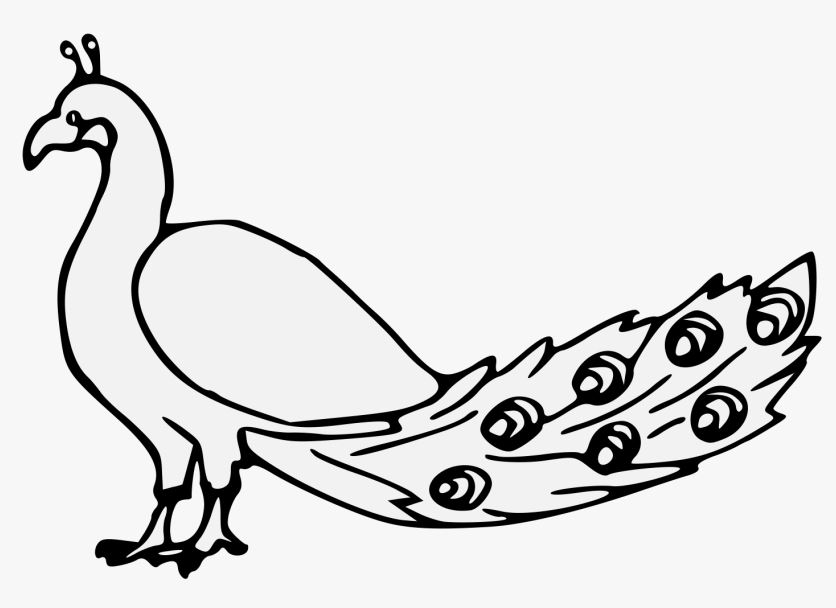
Drawing Completed
Also read: Shopping centers in Melbourne: cleaning has a social value